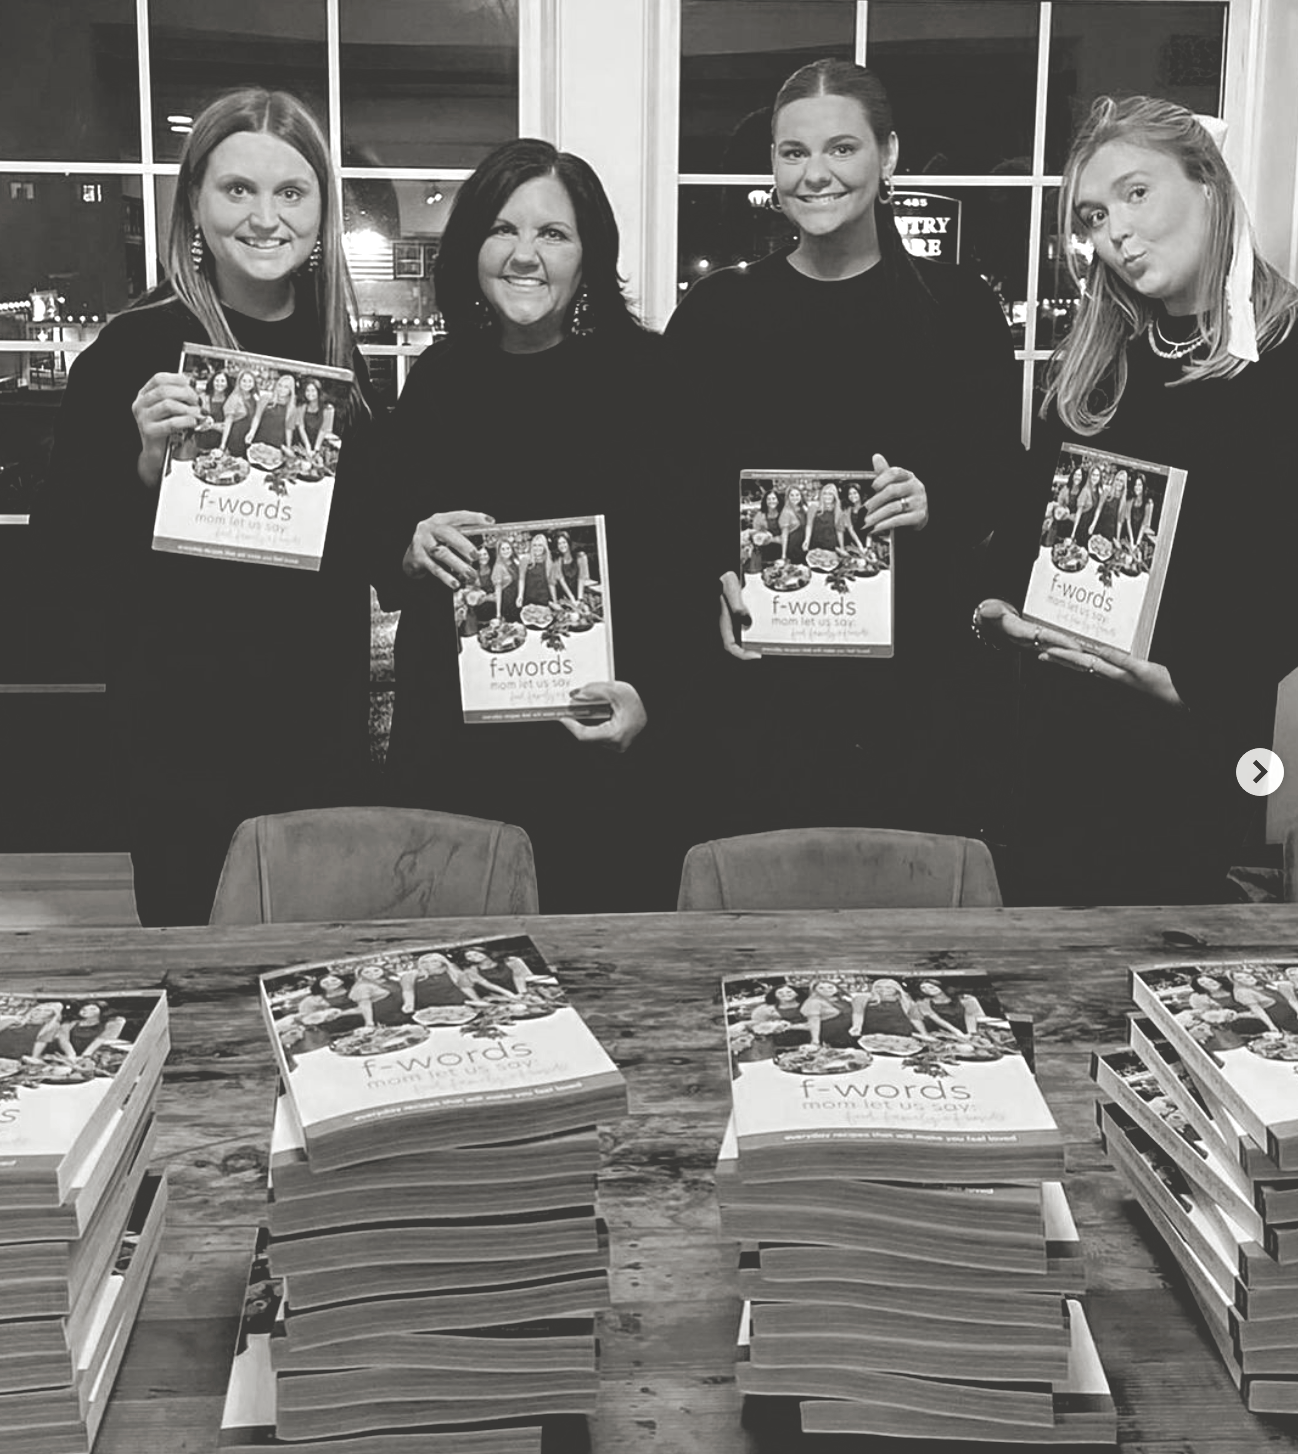
As a book designer, I get a lot of self-published cookbook design inquiries. I also get inquiries from cooks and content creators who are researching the process of releasing a cookbook and need help knowing all the steps in the process. Sometimes I help them with planning the steps in their cookbook journey and knowing what other service providers they need to hire before they work with me on the design. And one of those, of course, is a cookbook or food editor.
Recently I got a cookbook editing estimate from Deri Reed who worked with my client Sharon Peddie on her cookbook in 2022. Deri did such a nice job of explaining the different types of editing that cookbook text undergoes that I wanted to share them in this post. Because if you’re doing this for the first time, you probably have no idea how involved and specialized this process is!

Deri explained to me that cookbooks usually have the following edit process. There may be some overlap, but these are the general steps:
Step One: Substantive Edit
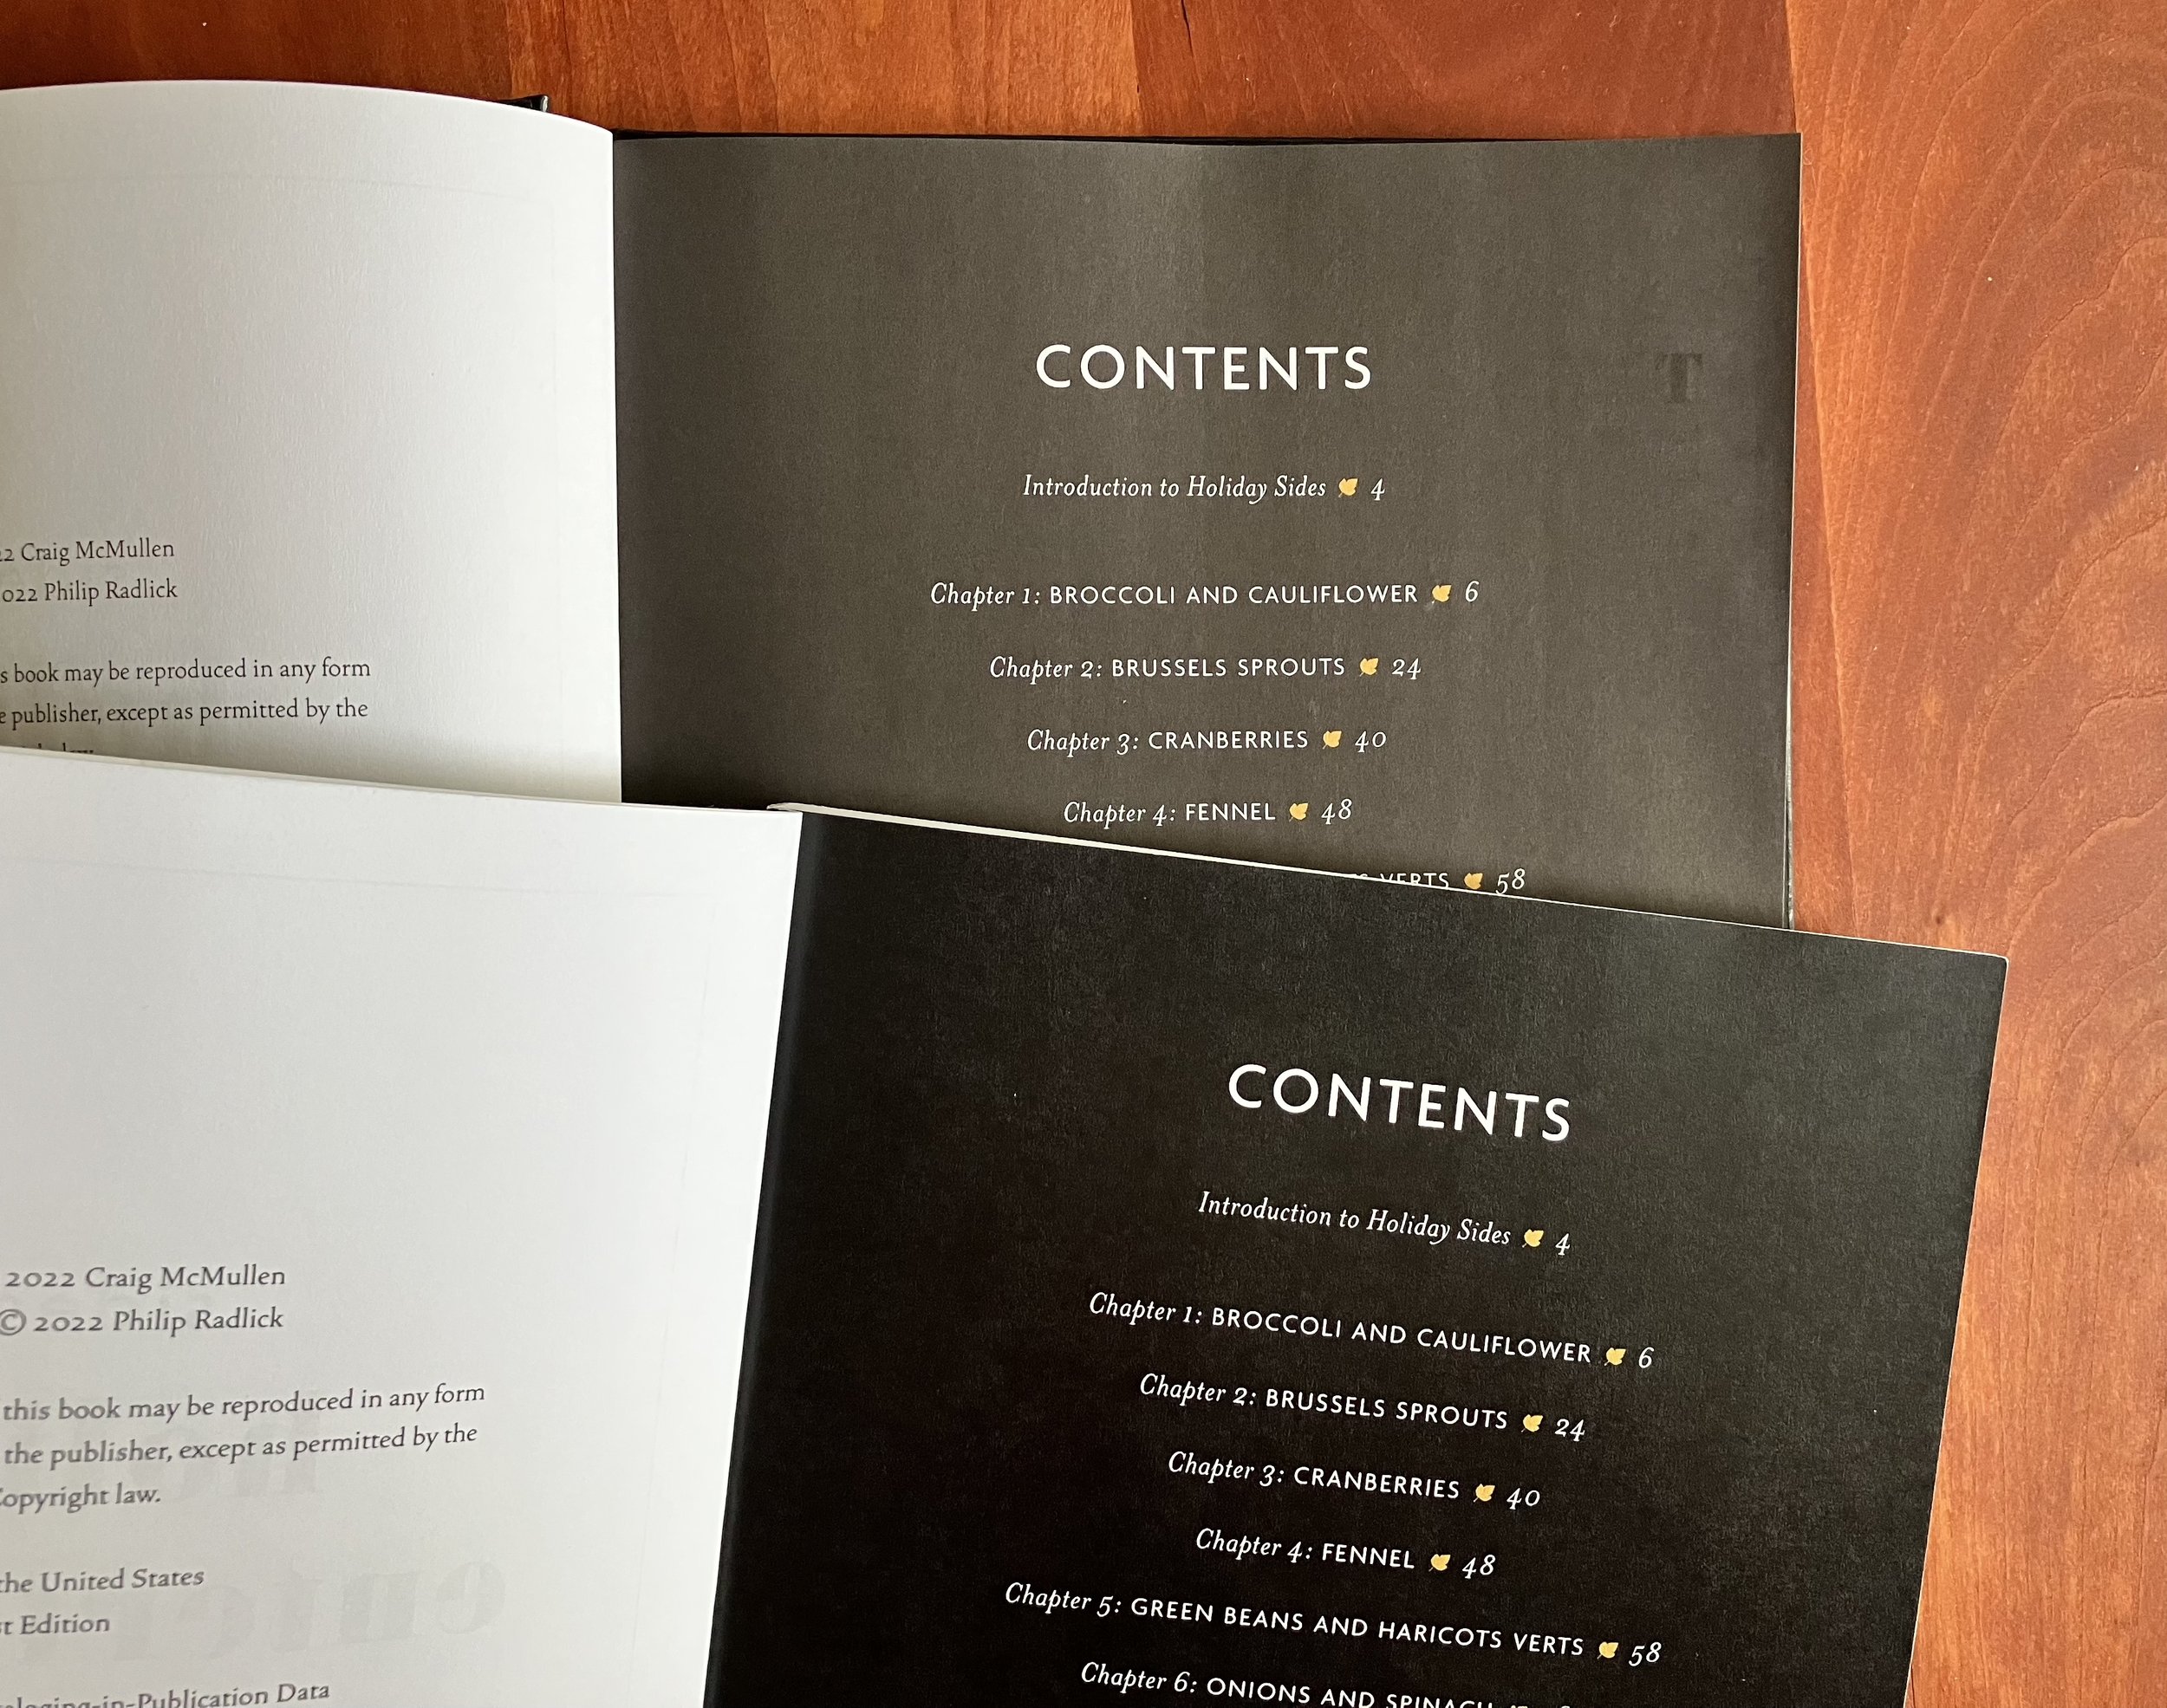
This is really shaping the book and can involve many changes, additions, and deletions to the original manuscript, including recipe selection, book organization, and taking into account balance of recipes, level of instruction/mood of recipes. With mainstream publishers, it often is heavily influenced by the publisher’s goals and experience: that is, what they think will sell the most to what kind of audience, how it fits into their other titles, etc. With indie (independent or self-published) authors, it's more about finding out what they want, who their audience is, and guiding them into putting together a complete, coherent book.
Step Two: Recipe Edit
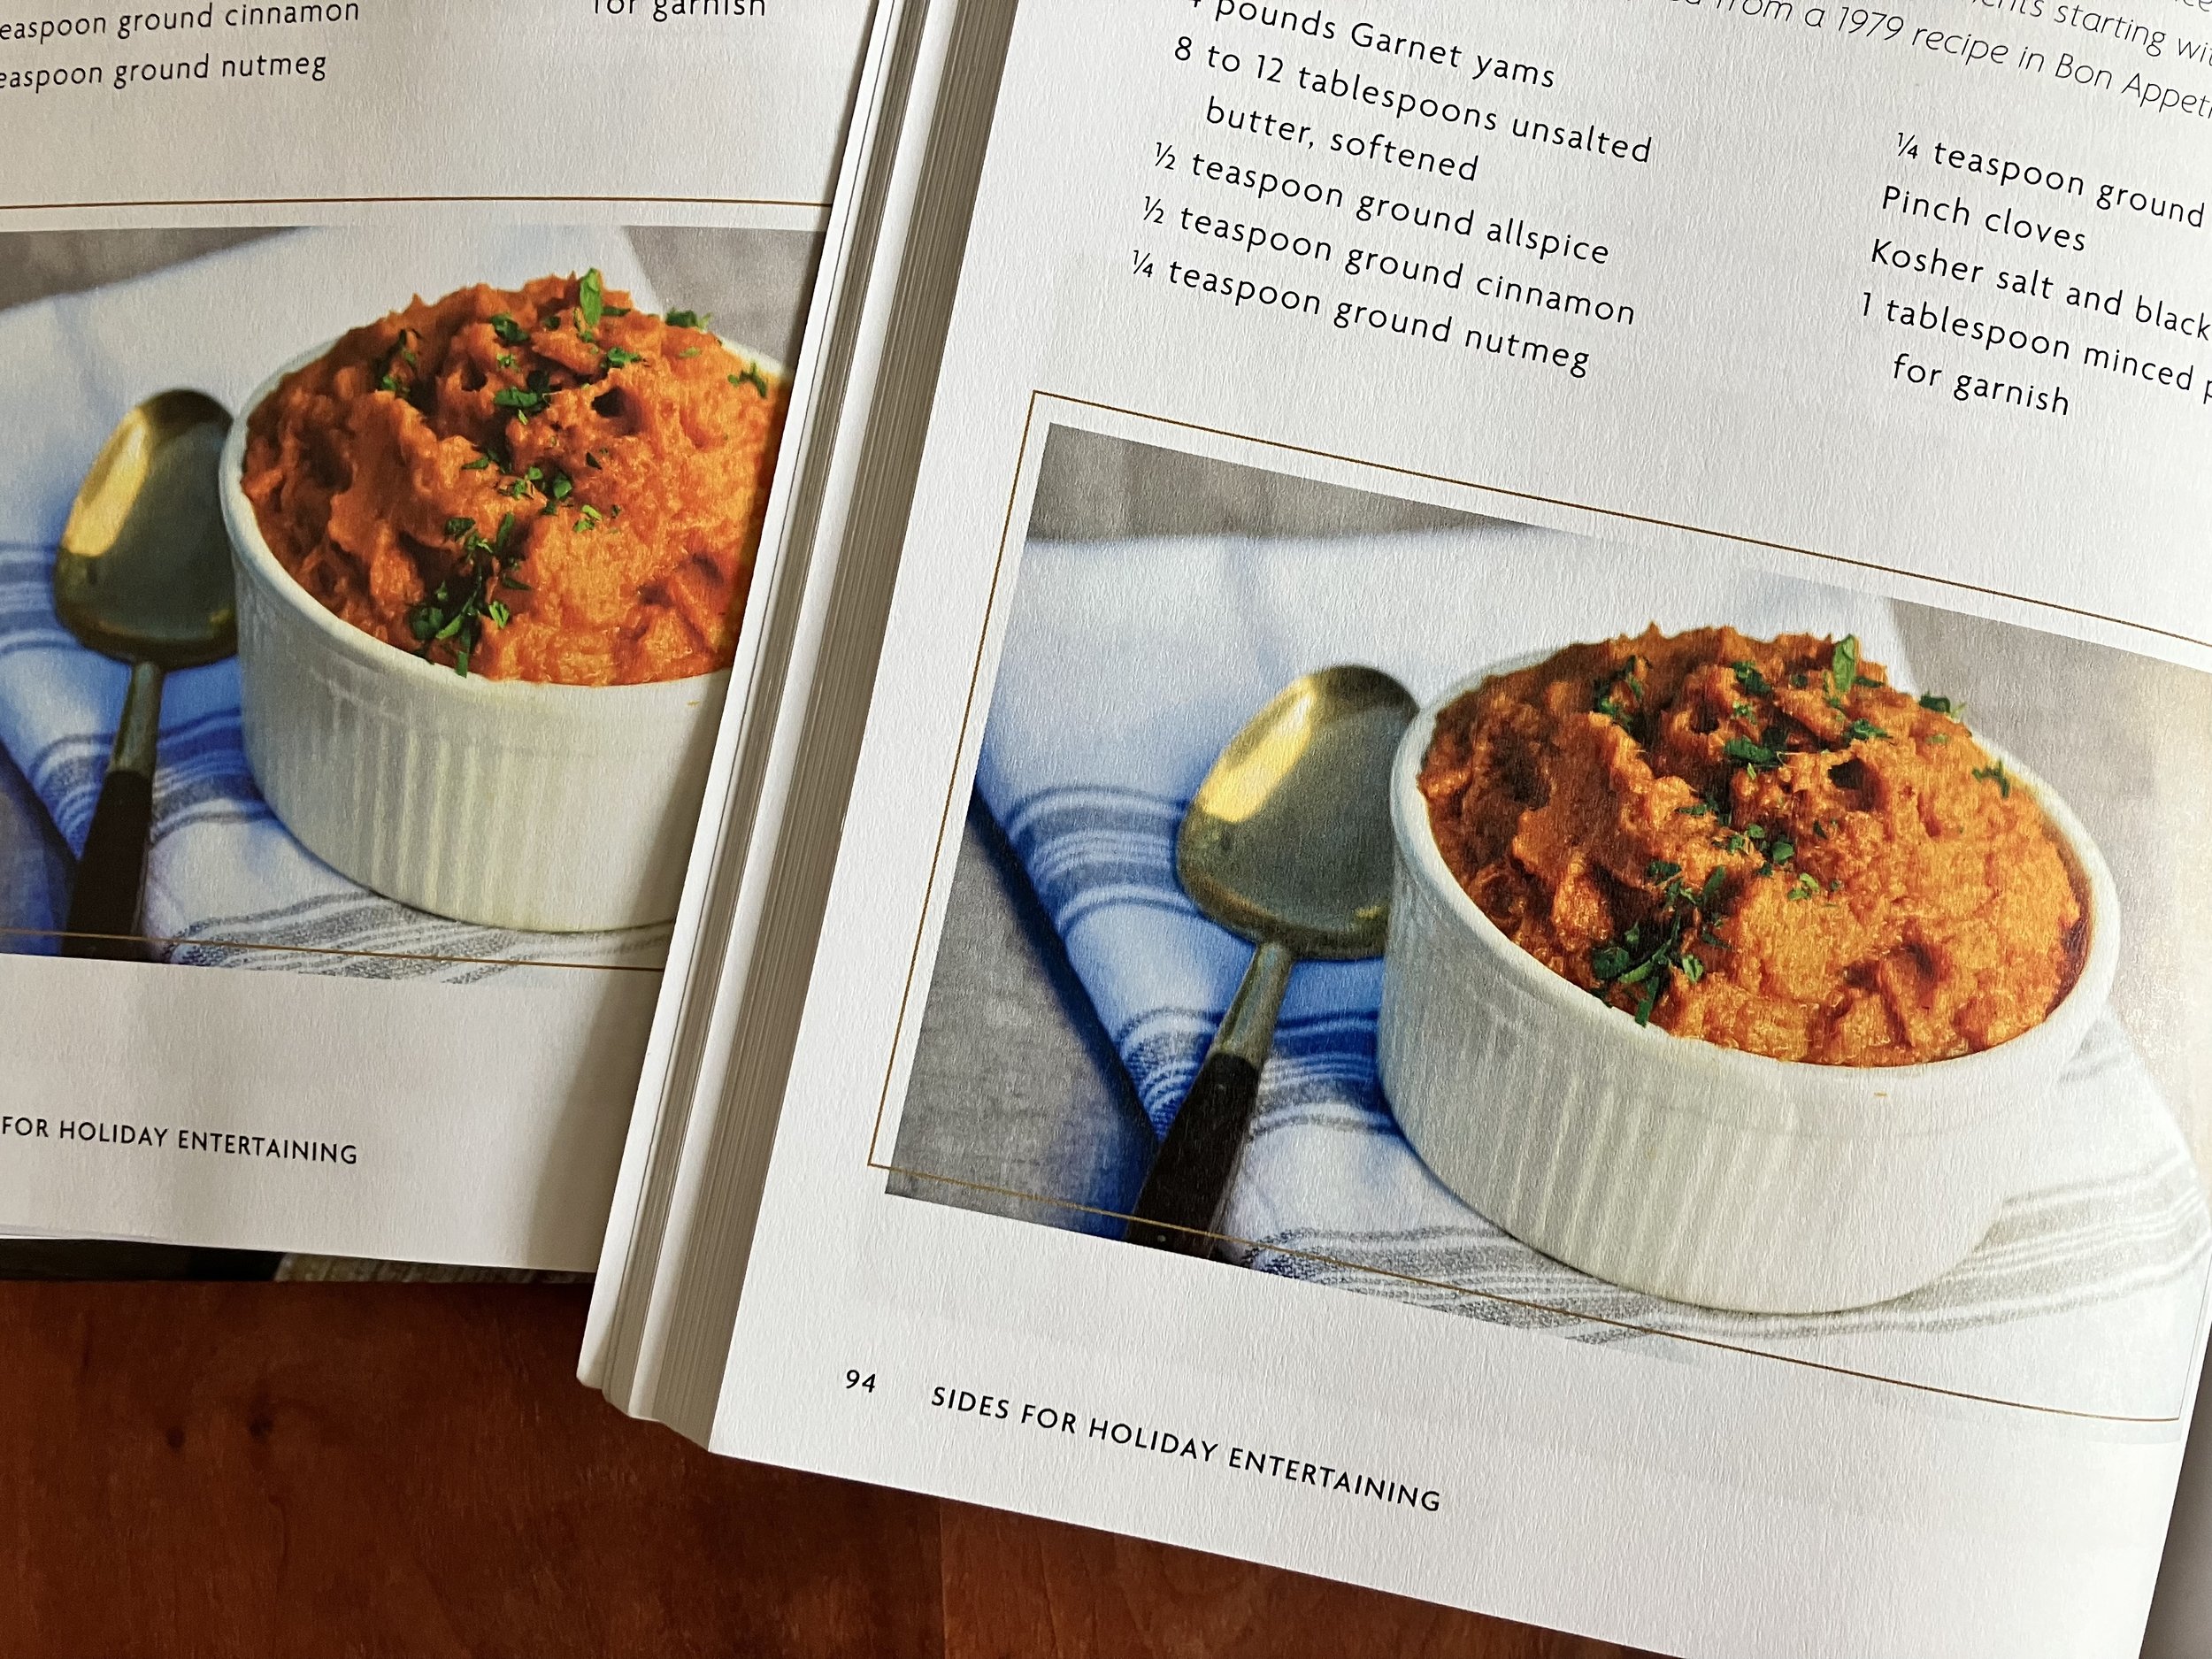
This is usually the equivalent of a line edit of text-heavy books. It is refining the recipes, making sure they are in standard recipe style, complete and informative. Is there a doneness and timing for each step? Is there enough instruction (or too much)? Are the steps clear? Are the ingredients readily available (if it's that kind of book)? Are they explained if not? Are the ingredients in order of use and all accounted for? Are the headnotes appropriate, engaging, informative? Is there at least a general consistency in ingredients and instruction wordings?
Step Three: Copyedit
The copyedit is a more detailed edit, the nitty-gritty. The main responsibility of a copyeditor is to ensure accuracy and readability. The copyeditor follows and refines the recipe edit, making sure that the ingredients are in order of use; ingredients that are added at the same time are listed from largest quantity to least; preheating the oven is usually indicated at least 15 minutes before needed, etc.). The copyeditor also gives a critical eye to each recipe, making sure that the recipe works: Is the oven temperature indicated? Is the bacon that is set aside in step 1 used later? Will all of these ingredients fit onto the small baking sheet that is specified? Does that bake temp and time for sugar cookies sound right? Would it be better to make the sauce before starting the stir-fry, since everything must come together quickly at the end? Could you use a substitute here, since this ingredient might be difficult to find? It is also correcting errors in grammar, spelling, usage, and style; plus checking word choice and formatting for consistency throughout the manuscript.
Step Four: Proofread
This is after the book is designed (laid out in pages) and is a check on the copyedit (because slight variances or problems are often missed), and focuses on grammar, punctuation and consistent style. And makes sure that all is typeset accurately (widows, orphans, italics, bad breaks, etc.), that nothing was lost in typesetting.
I (Julie) often suggest the cookbook be proofread once before layout and once after, as inserting a lot of changes into the typeset book can get tedious and expensive.
Deri says that there can be overlap and doubling up. If the initial recipes are in great shape and/or the substantive edit was very good, you may be able to combine the recipe edit and copyedit.
Deri says that she has often done copyedits that were actually recipe edits. She has also done copyedits with a manuscript that was so clean it was like proofreading. For this reason, rates for cookbook editing usuallycannot be finalized until she sees the final copy, but she can often give a ballpark figure and timeframe ahead of time. Editors may work for a fixed rate or on an hourly basis; Deri usually works on an hourly basis. Reach out to Deri if you’re looking for a cookbook editor experienced with working with independent authors.
I hope this information is helpful in your cookbook planning journey! Check my articles page (search “cookbook”) for more information and read this article about planning your book timeline. Contact me if you need a book planning consultation or custom estimate for your cookbook design project.